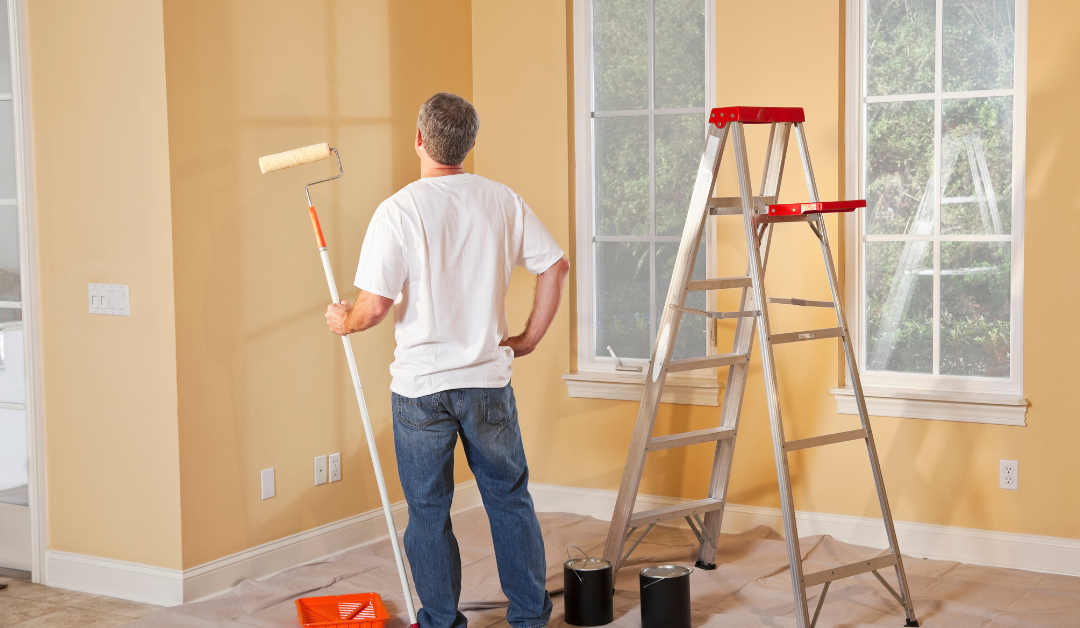
You are ready to give your home’s interior a makeover with a new coat of paint. In our previous articles, we have helped you with the initial planning stage, paint color, quality, and sheen selection. So, at this point you are ready to start painting, right? There’s one more task you may not have tackled yet – prepping the house. In this last of our multi-part series, we offer some great tips on preparing your home for painting, along with a few suggestions for when it’s all finished.
Surface Repairs to Walls and Baseboards
It is valuable to do some prep work to ensure that your new paint job lasts. Examine the rooms to be painted to find any sections of rotted or damaged wood. If the damage is severe enough, you should replace these sections before painting. If you don’t know what caused the damage, investigate for ongoing water issues or pest infestation. Resolve these issues before painting, such as repairing a water leak or treating for pests and termites. If the damage to the wood is relatively light and you have no concerns, use a hand sander to smooth the section for painting.
If you do not plan to re-hang artwork in the same spots, remove the nails or hardware and patch up the holes with spackle. Let the spackle dry and then sand the patched section to make it smooth. If you wish to keep certain nail or hardware holes, mark them with a pencil so the painter will know not to do any patchwork to those holes.
Use a screwdriver to remove the outlet and light switch covers. Put them in zip lock bags with their screws and use a marker to label the bags with the room and location where each one belongs.
One fabulous secret that professional painters use to make repaired wallboard look like new is wall texture spray. Walls have various textures, such as “orange peel,” and you can purchase a spray that matches your wall. Apply the spray to the spackled, sanded areas and let it dry before painting.
Purchase Supplies
Here’s a short list of items you may need. If you have a professional painter, be sure to confirm with him or her which items you will need to provide.
- Paint – primary and secondary colors in the appropriate sheens and correct quantities
- Paint brushes and rollers
- Pans to pour the paint in for the rollers and brushes
- Drop cloths or plastic film covers
- Painter’s tape
- Towels that can be used to clean up spilled paint and thrown away
- Boxes to store and move items out of the room
- Cleaning products you prefer to use in the home to vacuum, dust, mop, etc.
Move and Clean
Move furniture away from the walls to clear the area for painting. Relocate everything you can easily move to another room, such as the garage or spare bedroom. The rest of the furniture can be pushed together in the center of the room. Leave at least a 3-foot perimeter around the walls for the painter to work. Cover all the furniture and items with drop cloths or plastic film covers.
Clean the rooms thoroughly as you move the furniture and items out of the way for painting. Dust and dirt can accumulate underneath and behind furniture. Any dust and dirt not removed from the room can end up in the paint on the walls. Clean the walls, too! Dust accumulates on the walls just as it does on top of furniture. If you don’t clean this dust off before you paint, it will be permanently embedded on your walls in the new paint. Use an extendable cloth mop or hand duster (such as Swiffer®) to help you to reach high and low to remove dust from the walls and baseboards.
Protect the areas that will not be painted. Cover windows with plastic sheeting or window film. Apply painter’s tape around light fixtures, doorknobs, and anything else you want to keep from getting paint on. You may want to tape along baseboards or the ceiling to help with cutting in a clean, crisp line when painting. If you have carpet, lay drop cloths on the floor to cover and protect it.
Let the Painting Begin
Now it’s finally time to paint! If you hired a professional painter, be available to make decisions, solve problems, and oversee the work. Remember to keep the air circulating in the house to help with air quality, drying the paint, and keeping the workers cool. Let the painters work uninterrupted and free from distractions so they can do their best work most efficiently. Before the paint cans are closed, inspect the work thoroughly and request touch-ups done to any areas that the roller or brush did not fully cover.
Post Painting
As you move items back into place, use this opportunity to redecorate. Get rid of unwanted or unneeded items. Rearrange the furniture into a new configuration and relocate the artwork. Add some new décor that complements the new paint colors, such as pillows, rugs, curtains, or artwork. A new arrangement and décor will make the paint twice as exciting.
Turnkey Homes LLC
We hope you found the suggestions in this article helpful as you undertake painting your home. Read our prior articles on the planning stage and paint selection for other helpful suggestions. Turnkey Homes LLC is a custom home builder in the Appleton-Green Bay area and has extensive experience with interior painting of our homes. Learn more about us and our services at turnkeyhomesllc.com or reach us by phone at (920) 470-4315.


Recent Comments